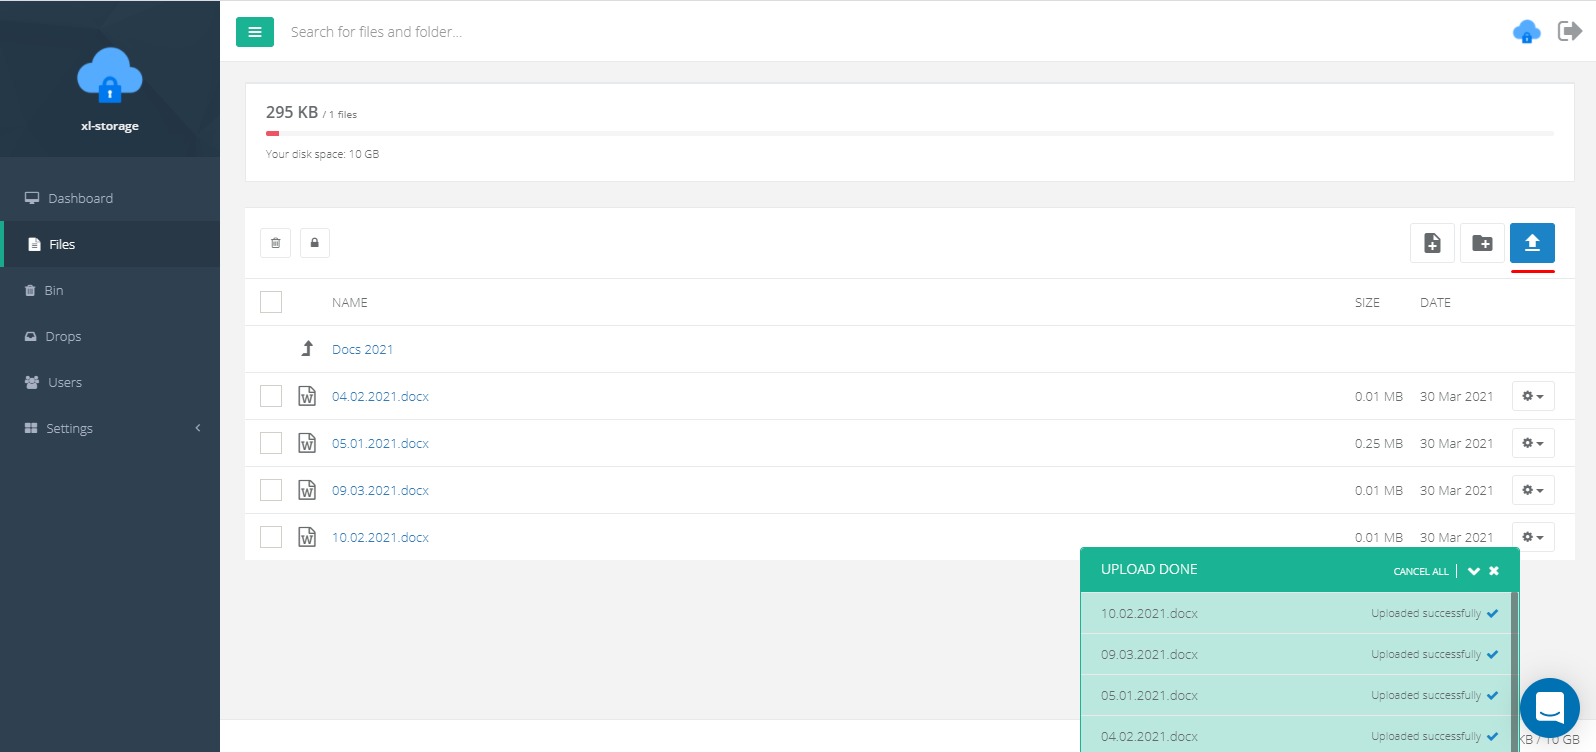
In order to upload files, go to the "Files" section of the navigation panel. You can upload files in 2 different ways: by clicking on the corresponding button or simply by dropping them onto the screen.
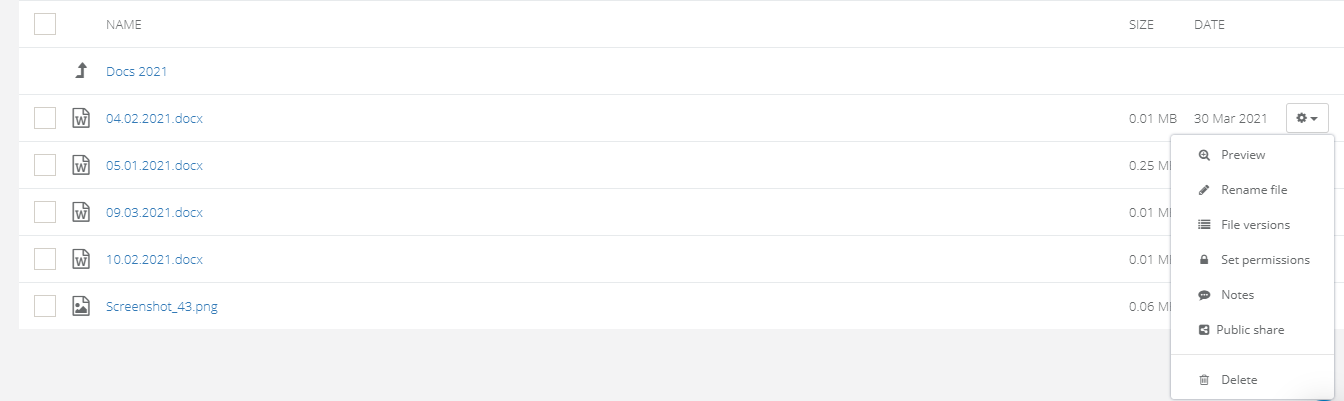
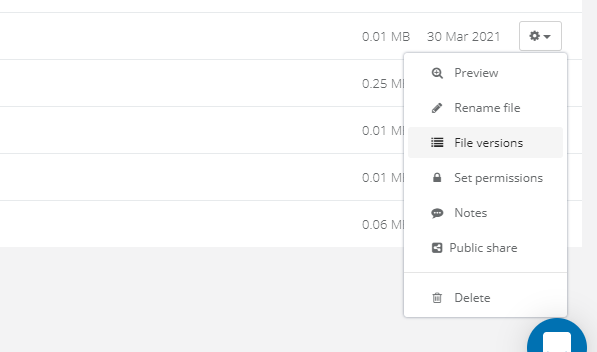
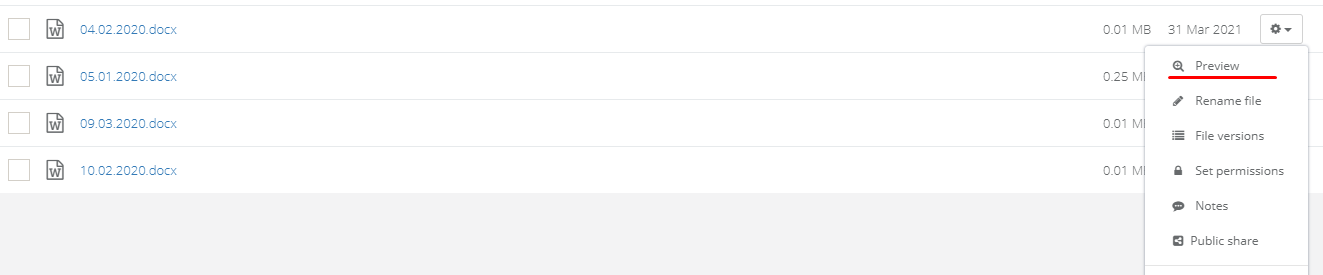
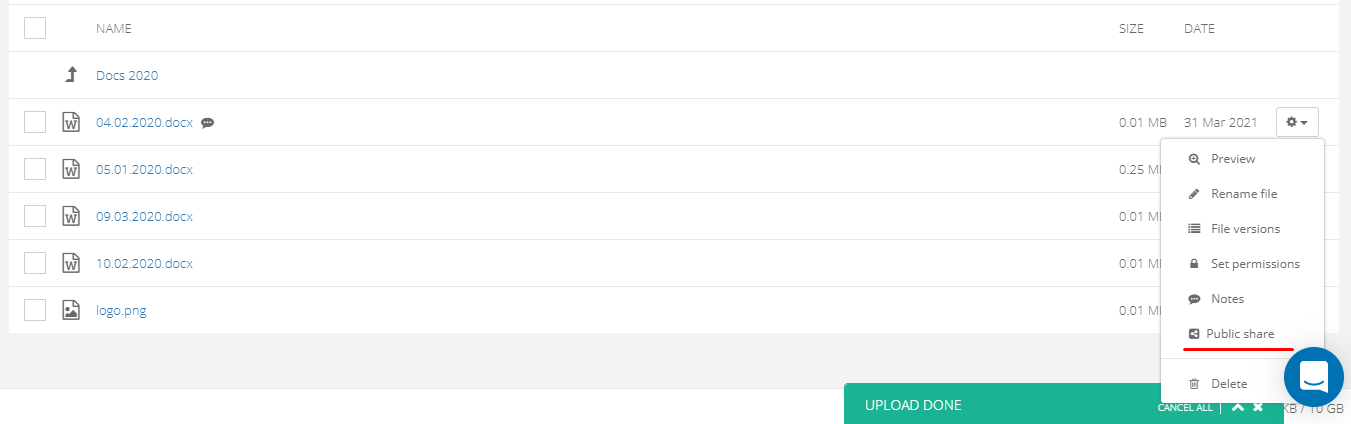
In the file settings, you can:
- View previewRename fileView file versionsView NotesOpen public access to the file
Warning!
Depending on the selected security level, you may need to enter the secret key when opening the file.
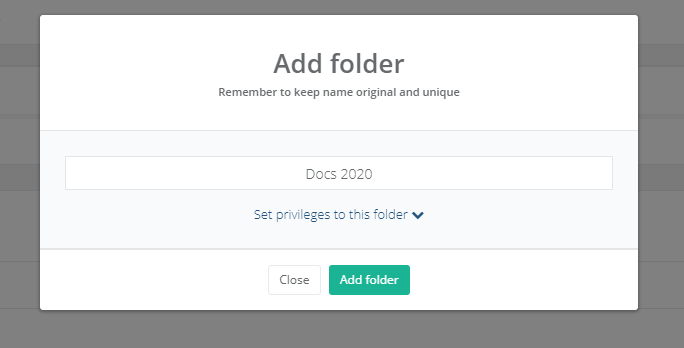
The most convenient way to store files is to group them into folders. In order to create a folder, go to the "files" section on the navigation panel and click on the corresponding button.
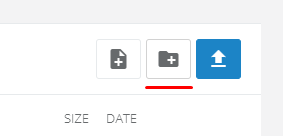
After that enter the folder name and set the privileges (optional).
Note!
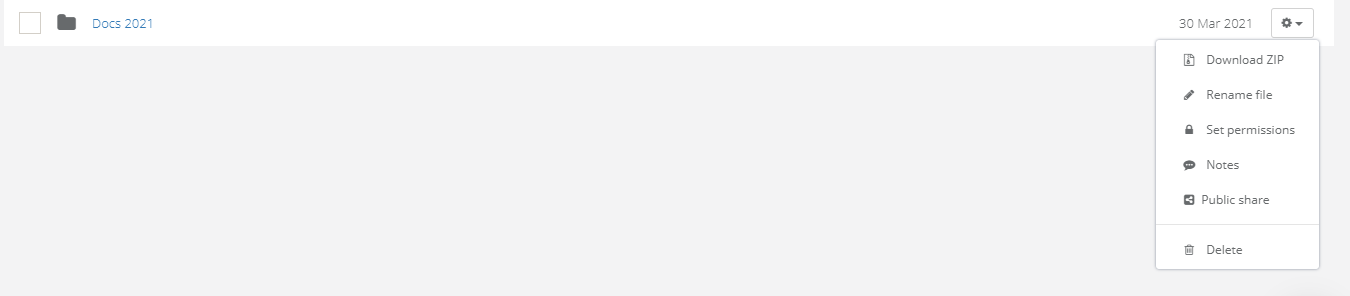
You can download the folder along with all the contents in ZIP format, add a note, or provide access to a public downloading. These features are available in the folder settings:
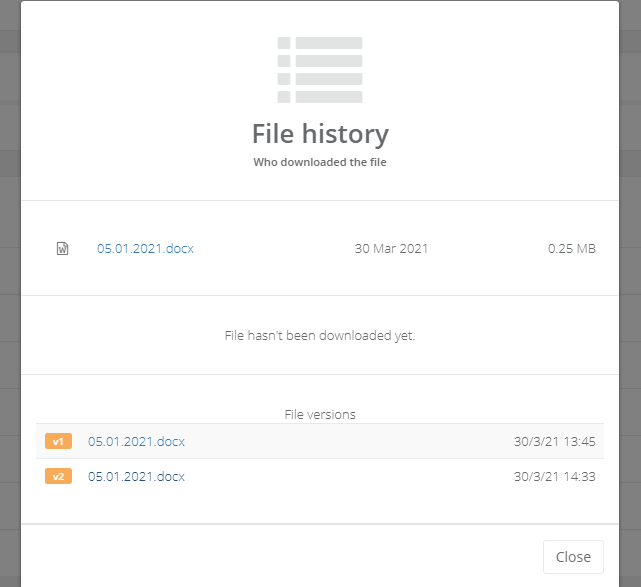
Another feature is file versioning that can be found in the settings of each file.
This feature allows you to view earlier versions of the file and make changes. The principle of working is simple: you upload a new version of a file and it automatically replaces the old one. At the same time, all old versions are displayed in a special menu and can be downloaded by users.
Warning!
In order for the downloaded file to be considered by the system as a new version, it must have the same name as the old one.
Another feature is the ability to preview the downloaded file. To do this, go to the file settings and select "Preview".
Warning!
Supported file types: JPG, PNG, GIF, MP4, AVI, MP3, XLS, PPT, DOC, PDF.
After this, the process of decryption will take place and the content of a file will be displayed on your screen.
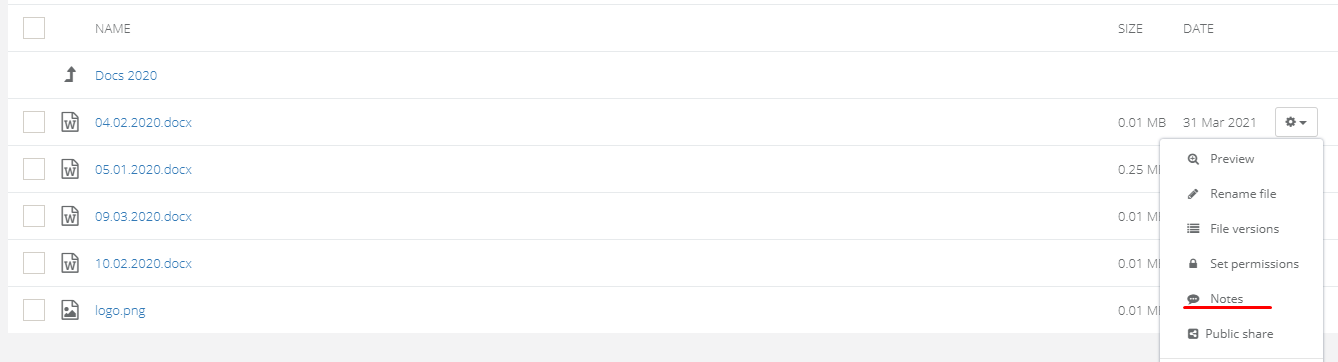
You can add a note to every file uploaded to the system. At the same time, all users of your system will see it, so this will simplify the process of information exchange. To add a note, go to the file settings and press the correspondent button.
All notes are displayed in a special menu in the form of a chat.
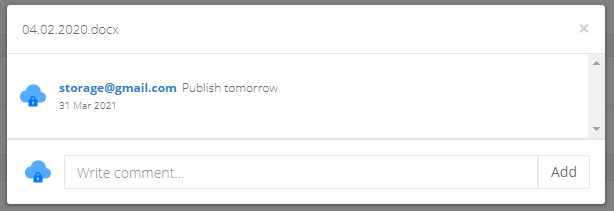
After adding a note, a special message icon will appear next to the file.

You can share any file with anyone outside the system. To do this, you need to open public access to the file and provide a download link that will be generated by the system.
Go to the file settings in the "Public share" section.
Click on the "Generate download link" button
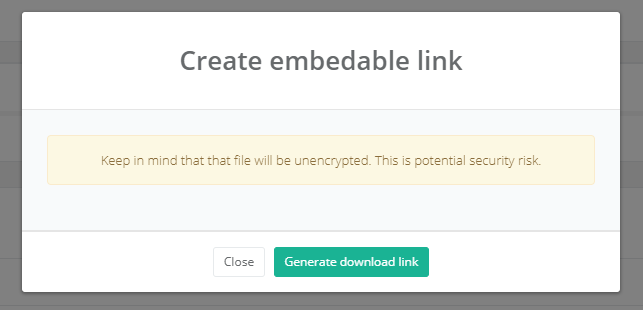
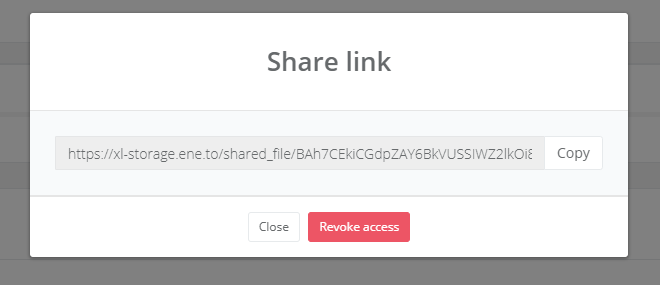
You now have a download link for the file that you can share with anyone outside the system.
Warning!
Having opened public access to a specific file, makes it unencrypted. You can revoke access at any time by clicking on the "Revoke access" button at the same menu.
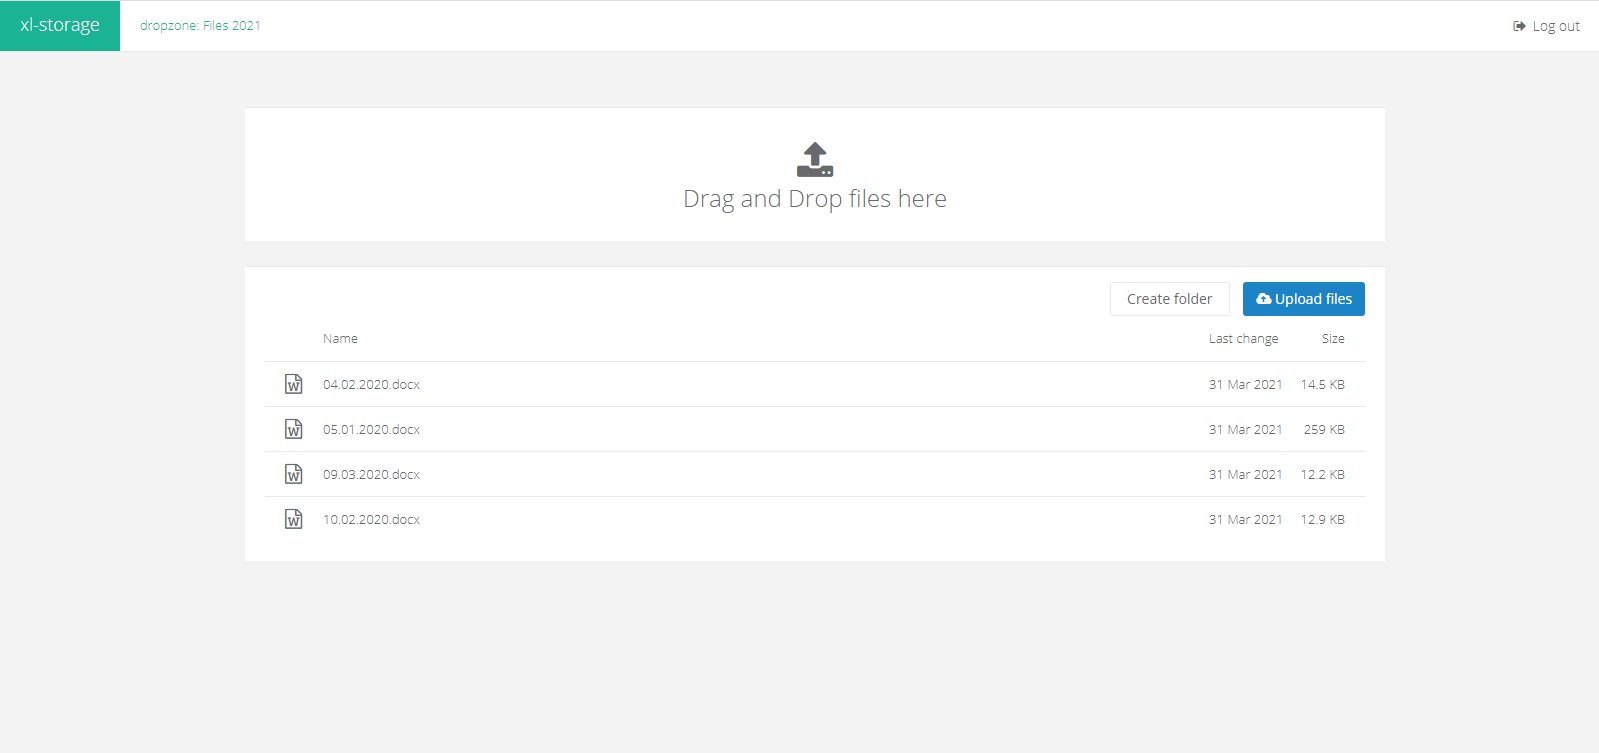
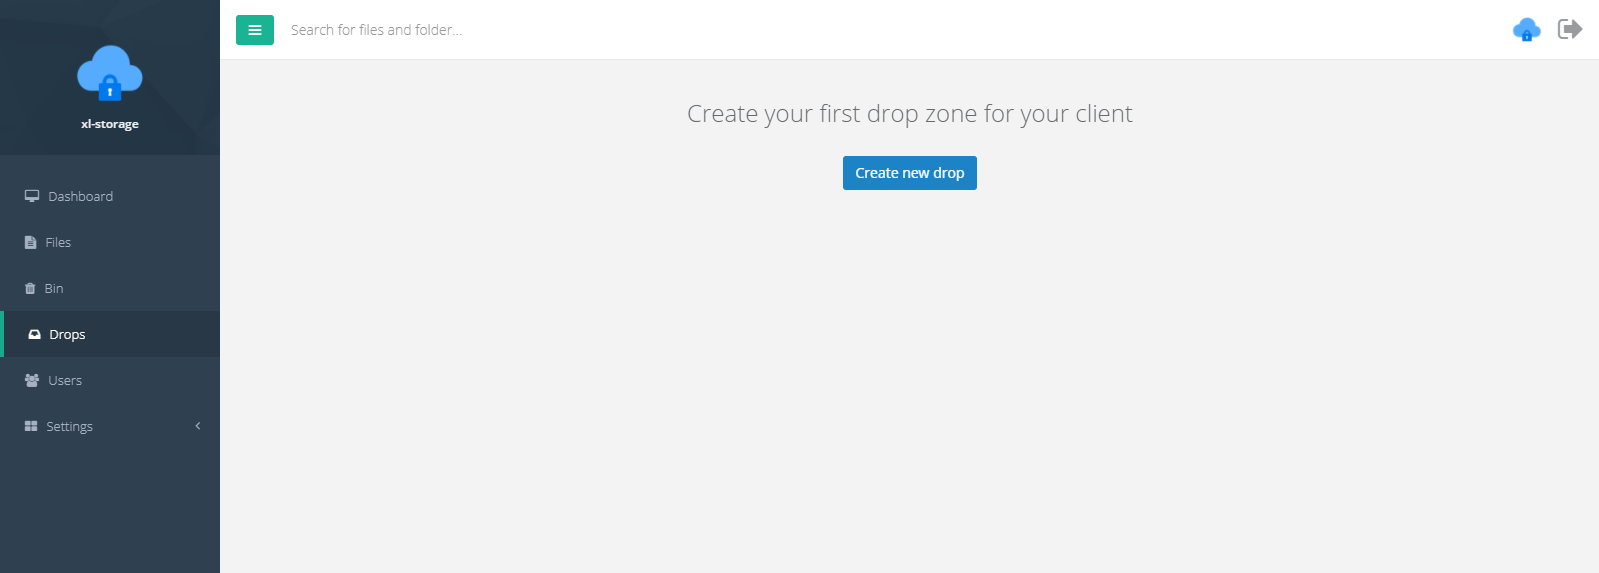
Drop zones are designed to alow your clients who are not registered in the system exchange files from outside.
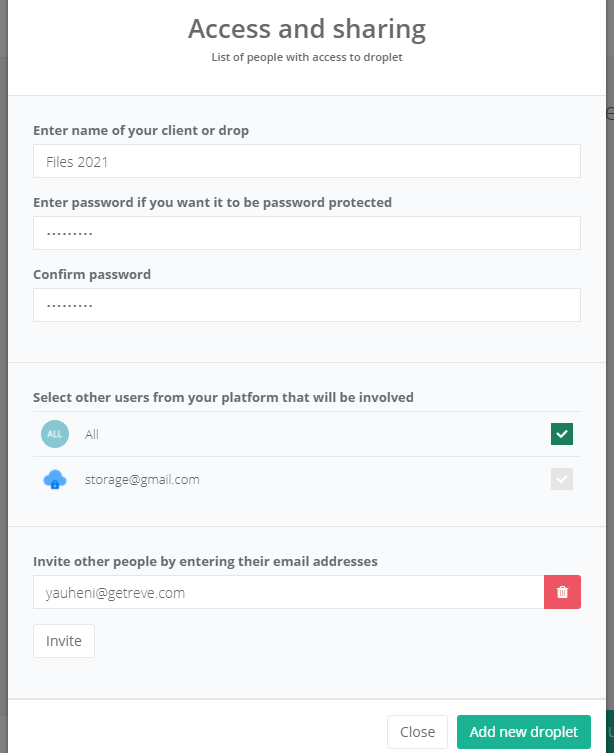
To create a Drop Zone, go to the "Drops" section on the navigation bar and click on the "Create new drop" button.
Now in the pop up menu you need to enter the name and the password for a drop zone, as well as Select other users from your platform that will be involved or Invite other people by entering their email addresses.
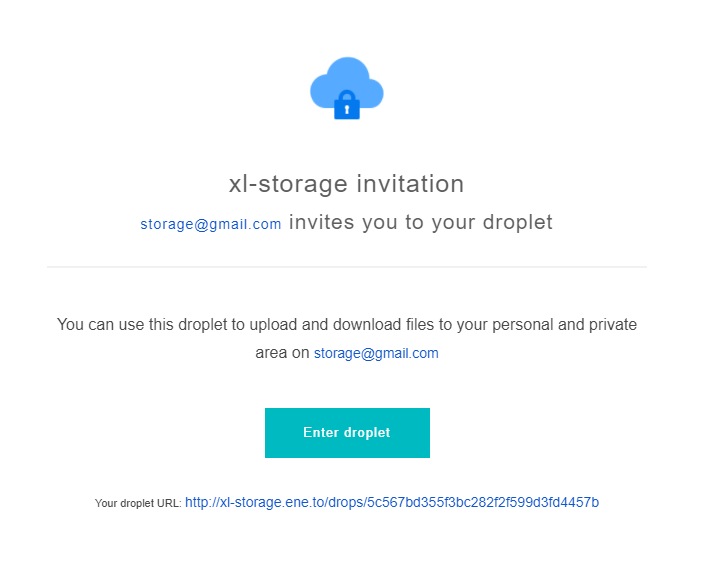
Visited users will receive a message by email containing a link to enter the drop zone.
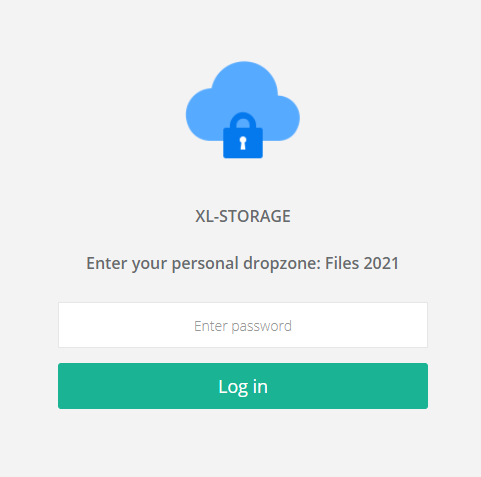
After entering the password, they will be able to view and download all the contents of the drop.
Warning!
Your clients will be able to download and upload files, but couldn’t delete them.